Ah the dreaded seating chart, even before you were planning your wedding you’ve heard the horror stories. The last-minute changes, the unauthorized alterations by over-involved bridesmaids or maybe even your mother…whatever the case may be, following these tips could help save you a little bit of stress through the process. Once you get your bearings you’ll be flying it!
Finalise your guest list & organize those RSVPs
Of course, to be able to start the process you need to know who plans on attending the day’s festivities. So first, make a final headcount, including any plus ones, so you have a list to work from.
Choose a table shape
Once you have your final numbers sorted, you’ll be able to choose how you’d like the reception area to be organised. Do you want to stick to one type of table or mix and match? The size and shape of your tables will determine how many guests will fit at a table and then how you’ll have to divvy up the seats. Your basic options are, round, rectangle, square or oval. When making your final choices think of your overall vision and the reception space you’re working with.
Placing loved ones
Once you have your tables shape and room layout set, you’re ready to start populating! It’s a good idea to start with family and close friends here. Will you be having a head table for the entire wedding party and their plus ones or will you opt for a sweetheart table? If you choose to have a special table for you the two of you, this will allow for some special alone tie during the busy night and make it easier for you both to get up an mingle with guests throughout the night. Think of your overall floorplan then seat parents and close family at the second best tables and the wedding party at the third best…and by the dancefloor, of course!
Ask for help
If you’re planning a larger celebration, it’s only natural that some distant relatives or friends of your parents will be in attendance. There’s no shame in asking for a little help here. Ask your parents, or your mother-in-law to help arrange those tables. They’ll appreciate the thought and be happy to help!
Start categorizing
Now that all of the more prominent to tricky guests have been given their spots, its time to start organizing guests into groups. It’s best to start by organising guests by how you know them: relatives, childhood friends, friends from work or college, you’ll get the gist once you get going. Now, this doesn’t mean you have to sit your guests by group, it might be nice to have a mix of new and familiar faces at each table. This will allow for more mingling. This should be obvious, but be careful when seating guests that may have a rocky history. You don’t want anyone to feel uncomfortable on your special day, or heaven forbid the attention to be cast on some unnecessary drama.
Having a kids table?
If little ones are making the guest list, you’ll need to decide whether you’d prefer to seat them with their parents or if you’d like to designate a kids table. This will depend on the ages of the children, but if you are opting for a separate table try not to place them too far from mum and dad.
Make a model
If this all seems a bit overwhelming, it can’t hurt to make a model or a digital floor plan. Having a visual will help loads when seeing the overall picture. From there you can move guests around until you’re happy with the final layout of your seating chart. Get a poster board, cut out names, do whatever you need to do to make a seating plan that you’re happy with.
Assign tables instead of seats
Assigning seats may not be for everyone. If that’s the case for you, assigning table numbers and letting your guests choose their place is an easy alternative. This would work especially well for a more intimate wedding.
Make finding their place easy
Once the tough part is out of the way, you’ll need to plan how to notify your guests of where they are sitting. You’ll need to decide whether you’ll be making place cards or a large seating chart. For a larger wedding, alphabetising guests names and including a table number and seat might be a helpful option.
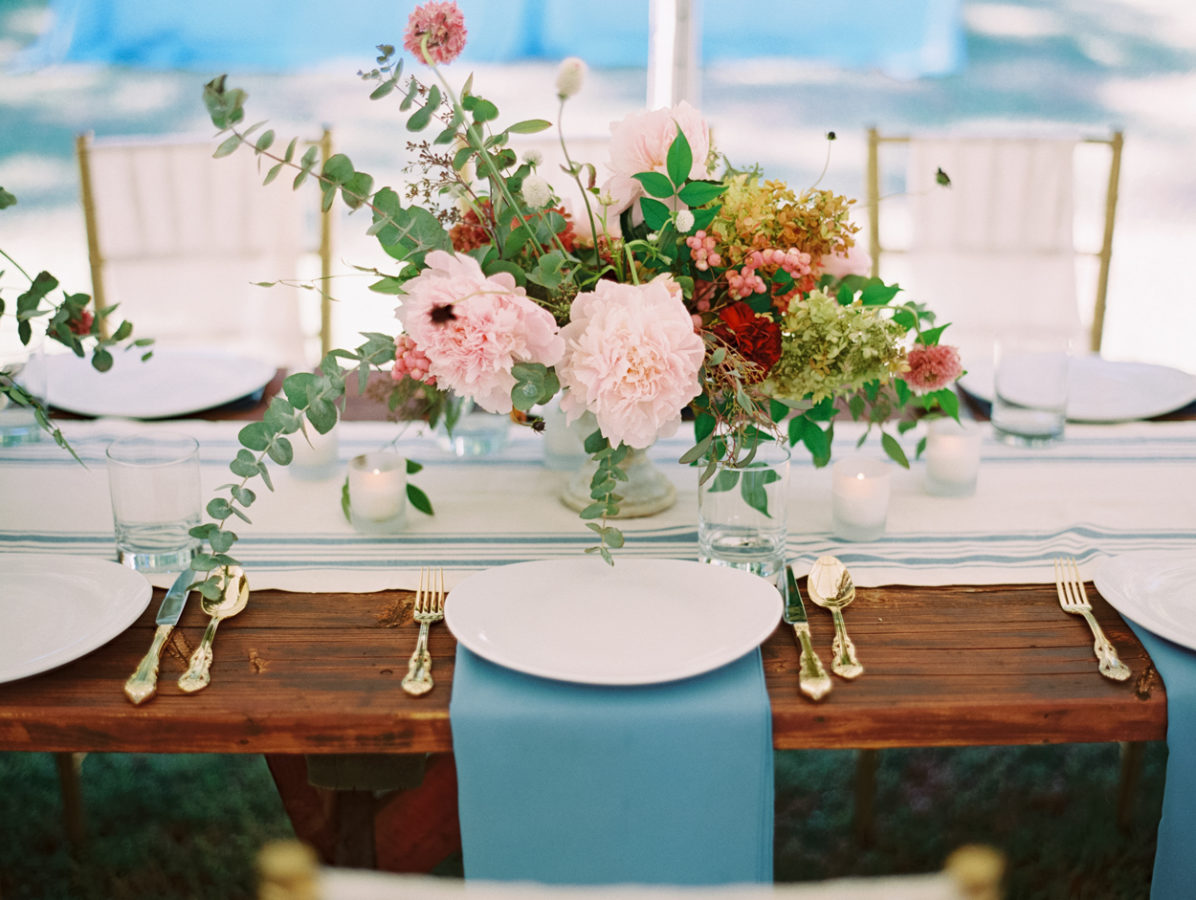
Feature Image: Becca Lea via Style Me Pretty


